
有位好心的粉絲翻譯,
主動跟君辰媽咪我聯絡,
希望把【手作】DIY口罩套~把口罩留給最需要的人
翻譯成英文版,
希望給更多國外的朋友們都可以自製口罩套!
於是呢~~就有英文版誕生囉!!
【DIY Mask Cover】~ Leave masks to people who need them most
Hello everyone!
My name is Fu-Li Lin. I am a mother of two in Taiwan!
Because there are not enough masks for everyone, I decided to make mask covers for me and my family!
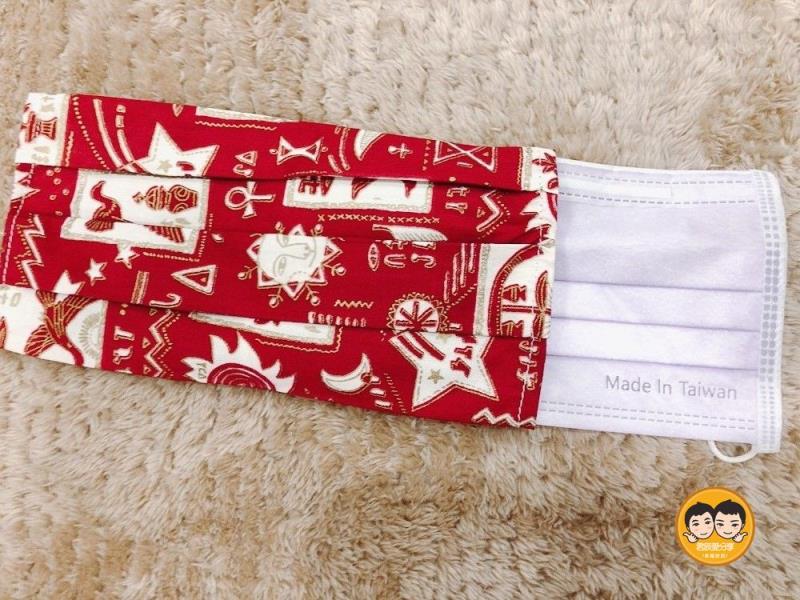
This【DIY Mask Cover】allows you to place a surgical mask inside, remove and wash the mask cover every day to extend the life of a surgical mask.
It’s really easy to make it with a sewing machine or hand-sew.
Now come and try with me!!
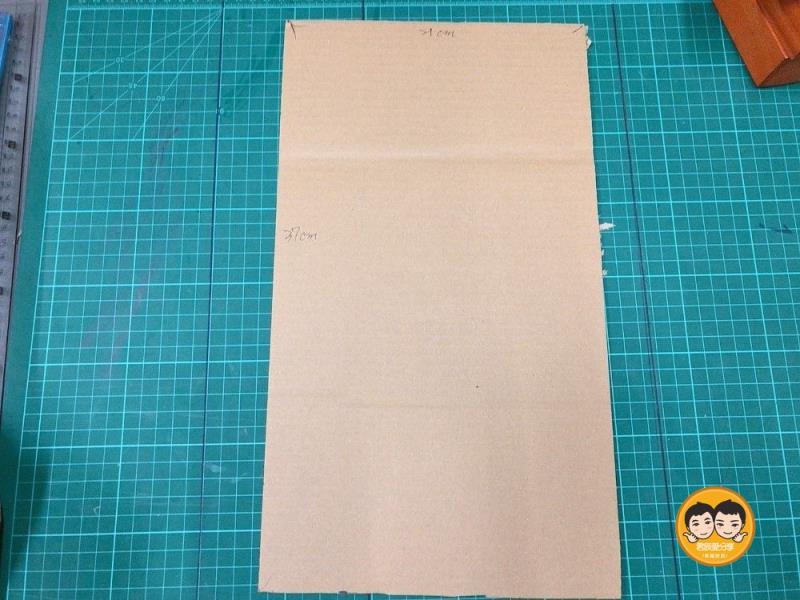
First, let us prepare the cardboards:
Cardboard for folding: three boards total, 20cm*4cm, 20cm*2.5cm, 20cm*1cm
Cardboard for adult size: 20cm*36cm or 21cm*37cm
Cardboard for kid size: 18cm*36cm
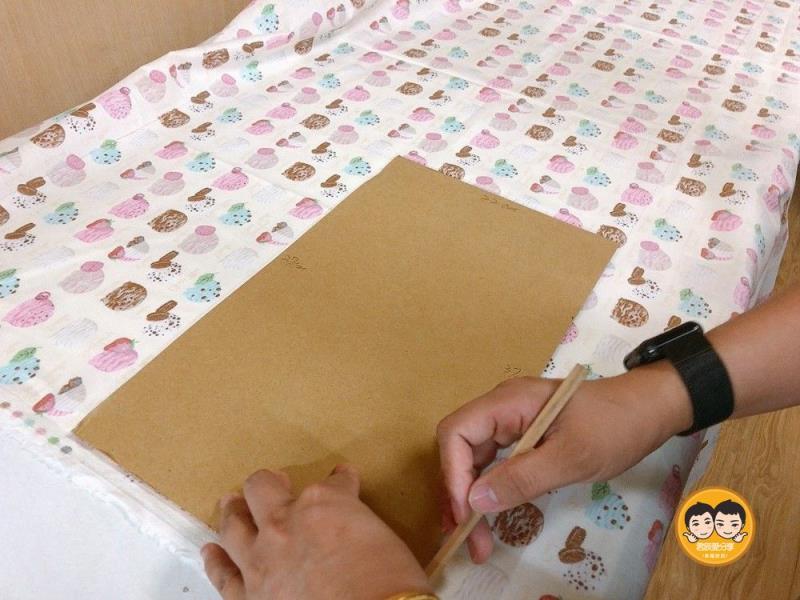
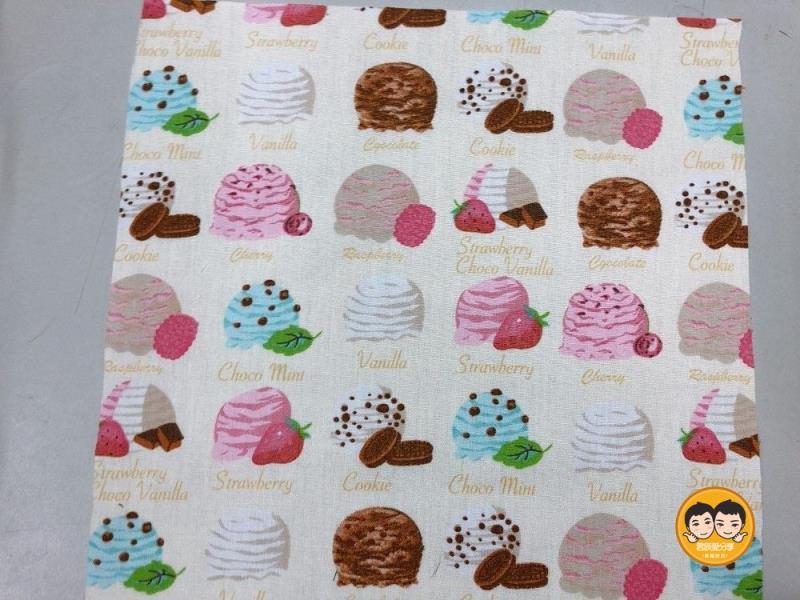
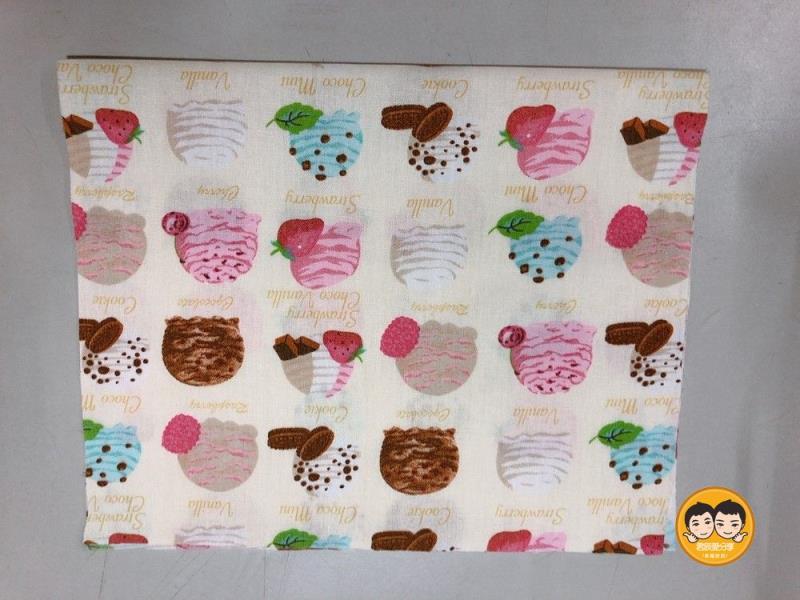
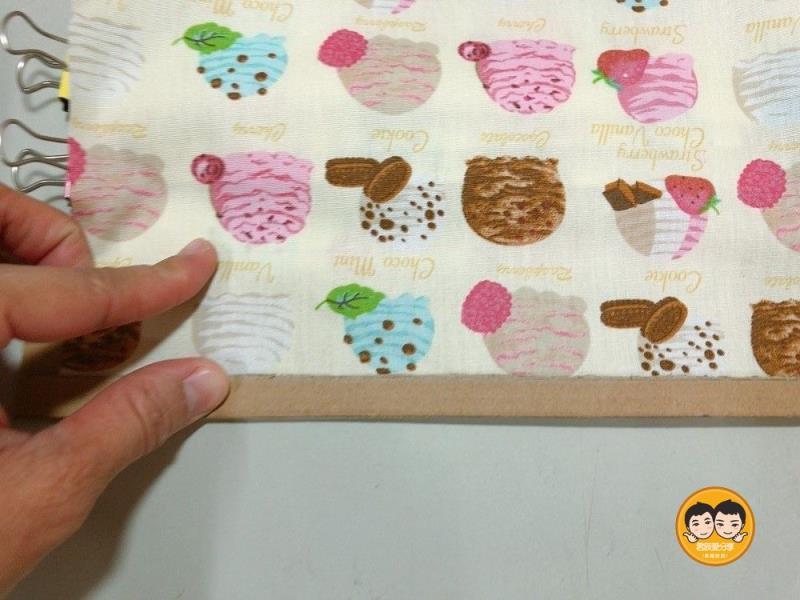
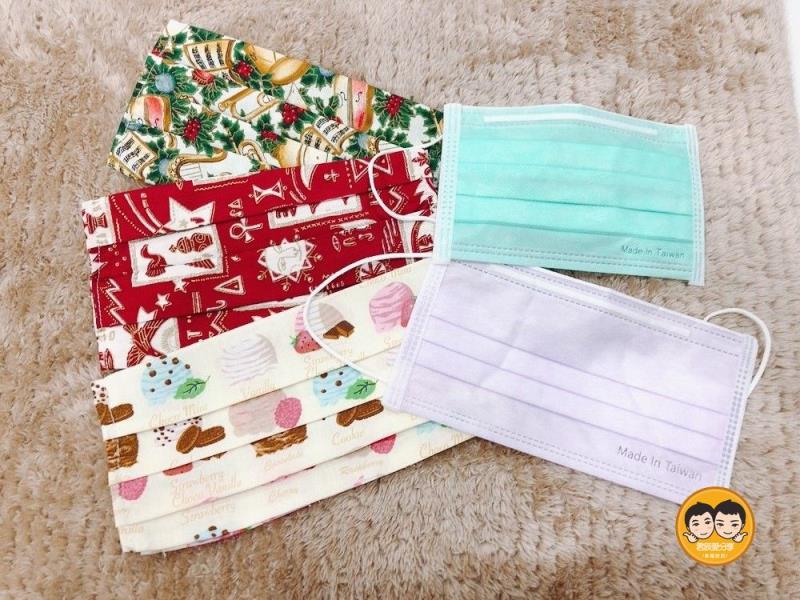
And pick your favorite cotton material!
You can also refer to a video here by a youtuber from Taiwan (speaking Chinese Mandarin):
https://www.youtube.com/watch?v=an5iCrCr_7Q&t=327s
Now, let us begin ~
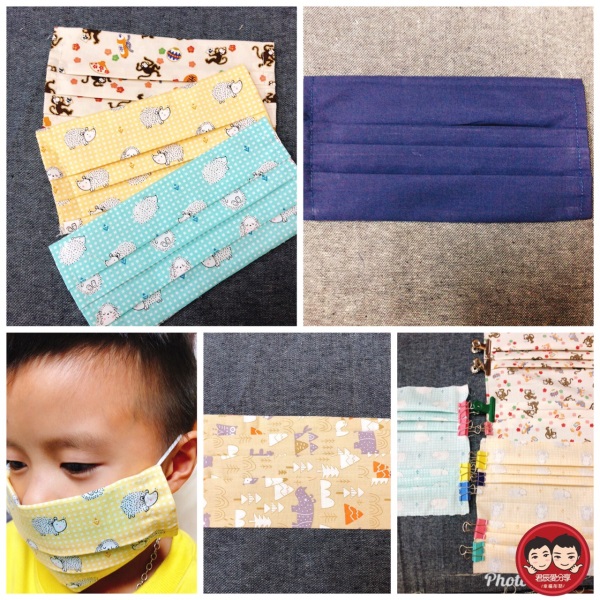
It’s faster to prepare 5-10 cotton cloth at a time using the “cardboard for adult size”.
Just simply place it on the cloth, draw the shape, and then cut to create 5-10 pieces.
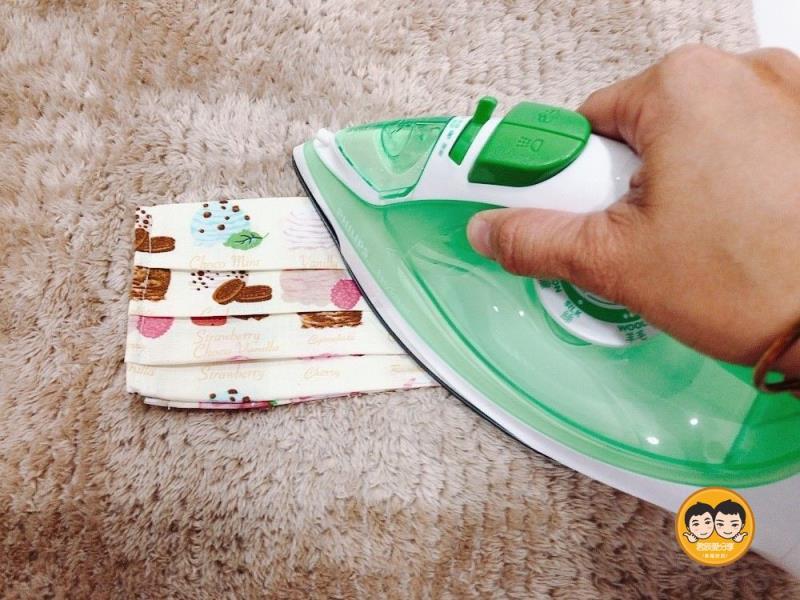
Let’s fold the cloth in half.
Iron it to create the central line.
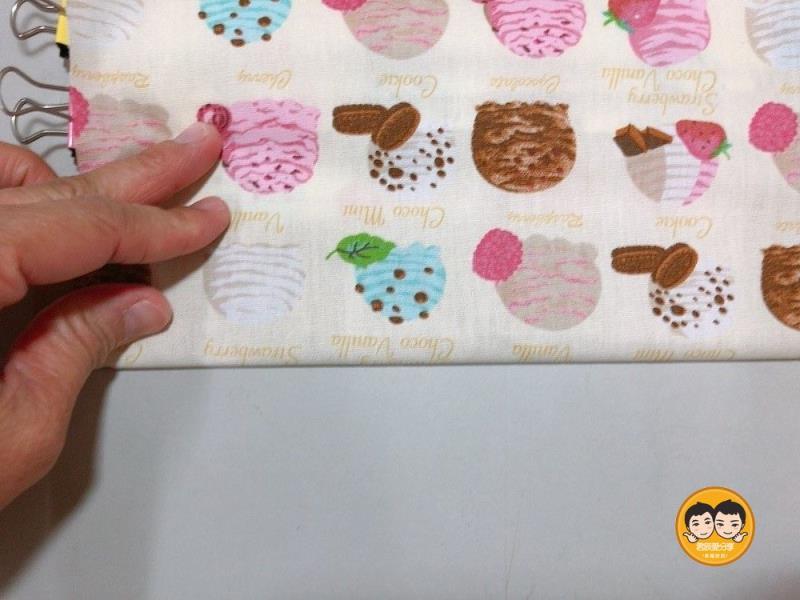
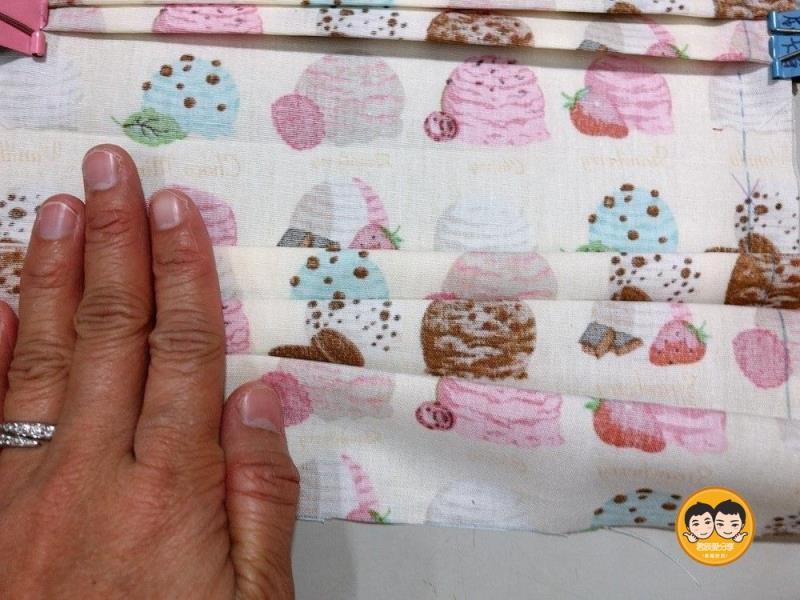
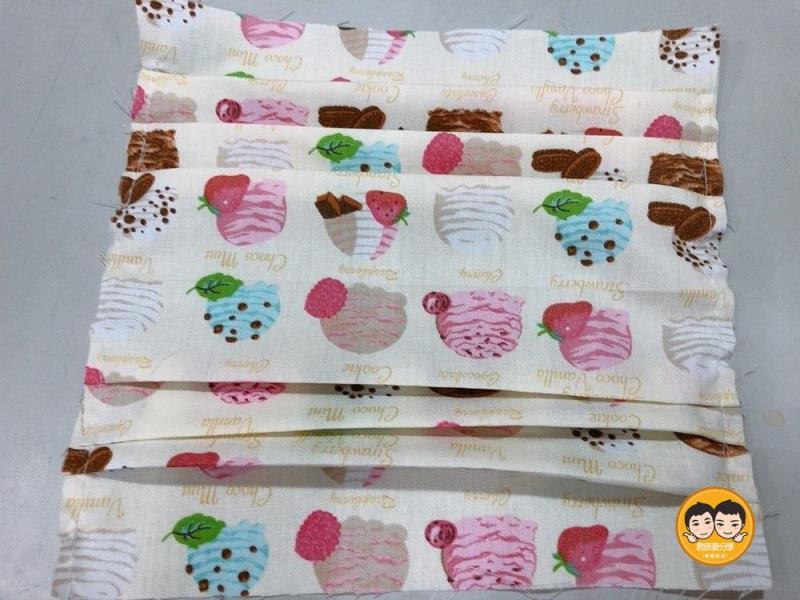
In the picture, I just want to show you that after I finish the first half, I use the clips to make the folds stay.
So it would be great if you can have some clips or pins ready.
Now I’m going to demonstrate how to make the second half, which is exactly the same as the first half :)
Let’s place the upper edge of the 4cm cardboard below the central line.
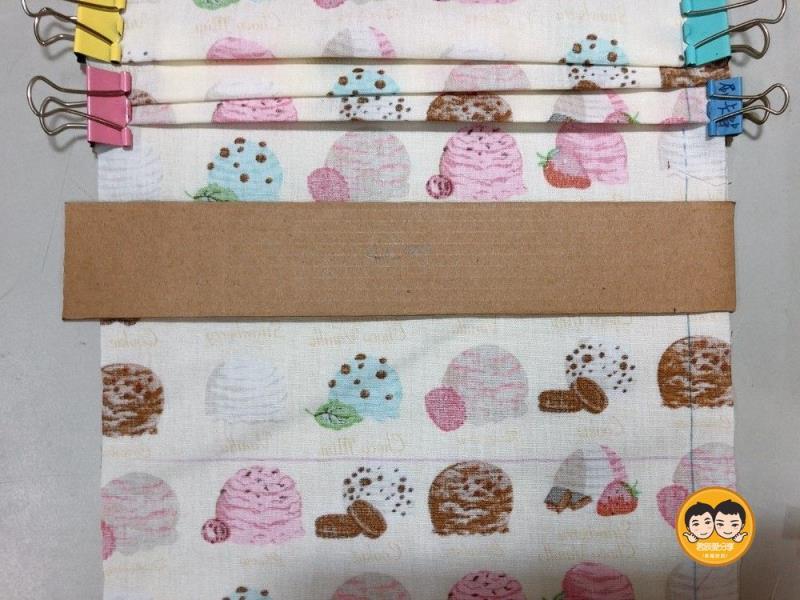
Fold up the cloth to cover the board, and iron.
Place the 1cm board, fold down the cloth to cover the board, and iron.
Place the 2.5cm board on top of the 1cm fold you should created, fold up the cloth, and iron.
Place the 1cm board, fold down, and iron.
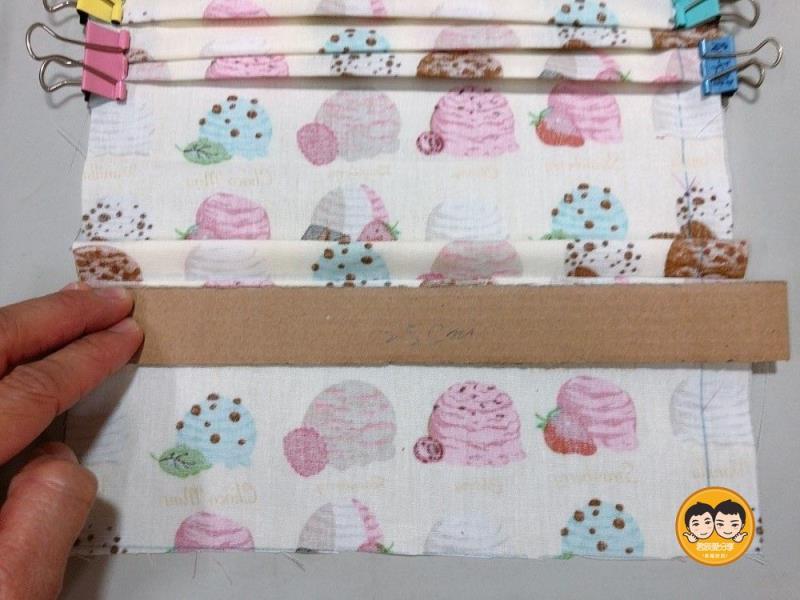
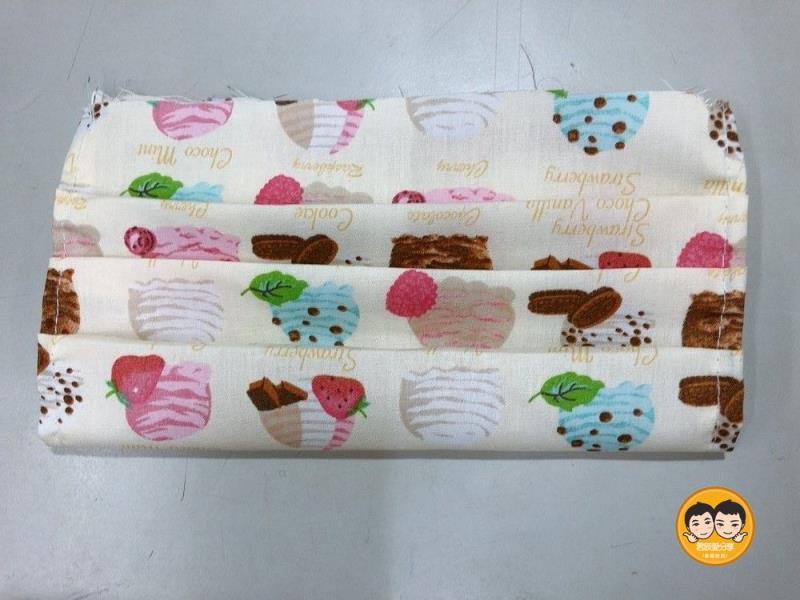
By now you already have two folds, good job! Now we just need one more fold!
Place the 2.5cm board, fold up, and iron.
Place the 1cm board, fold down, and iron.
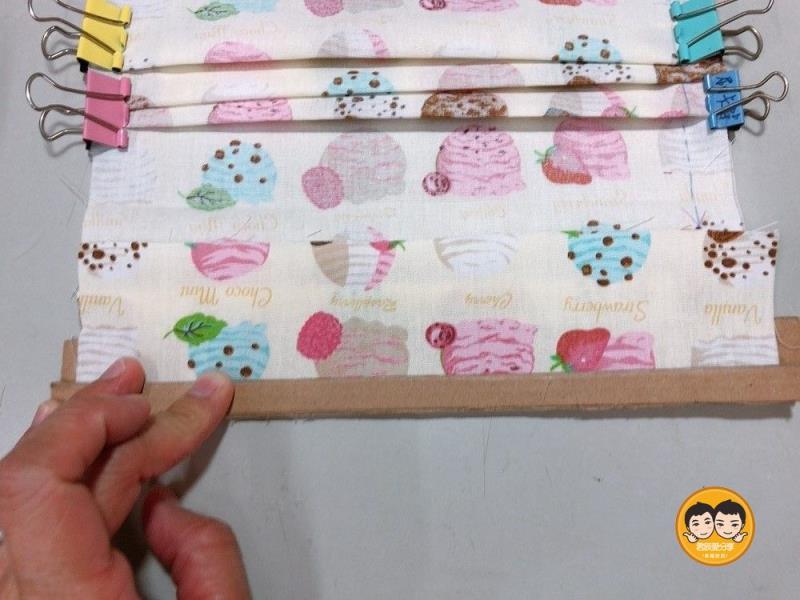
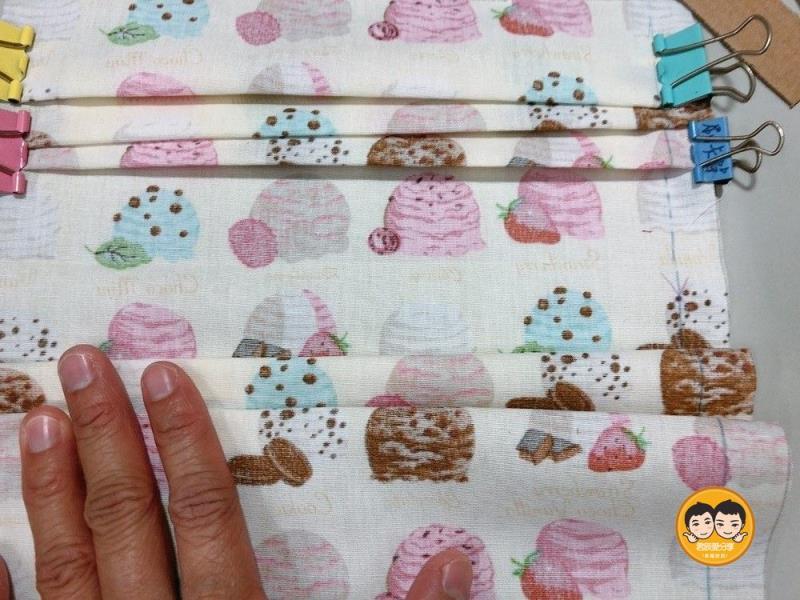
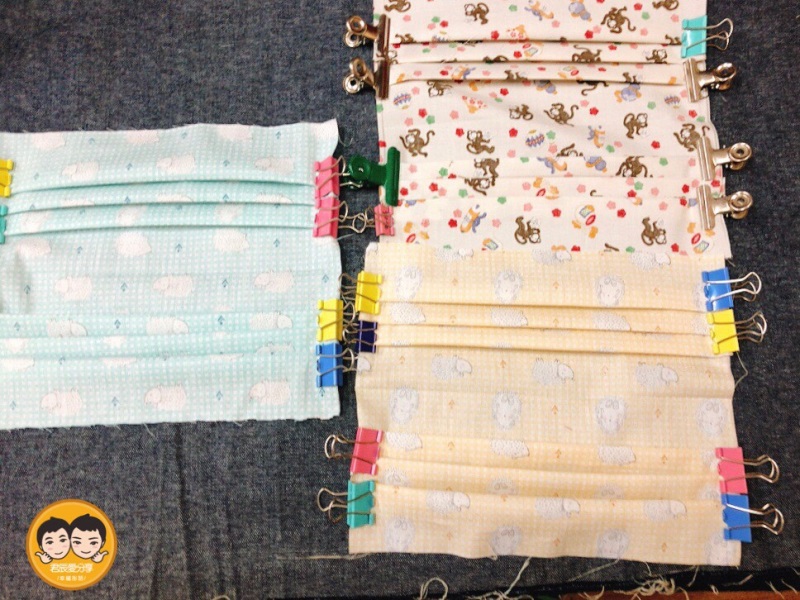
Press on the folds and apply the clips so that it is easy to sew.
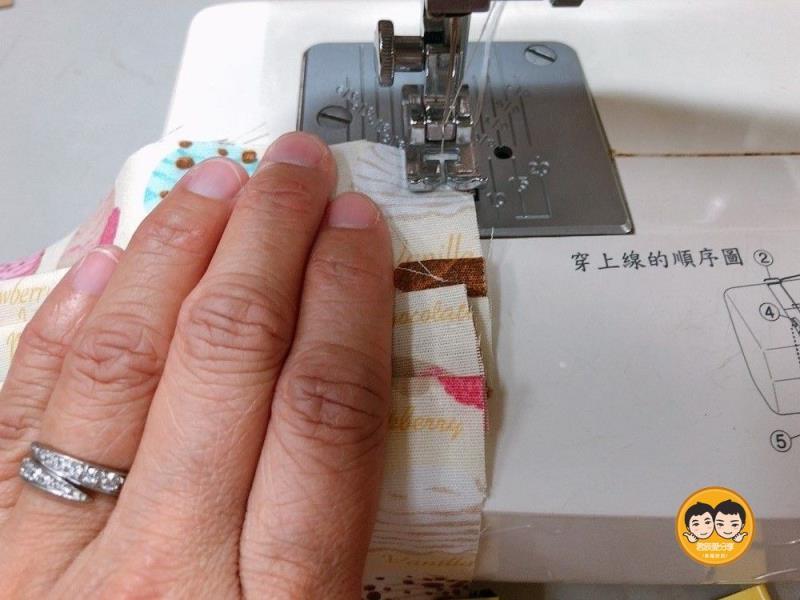
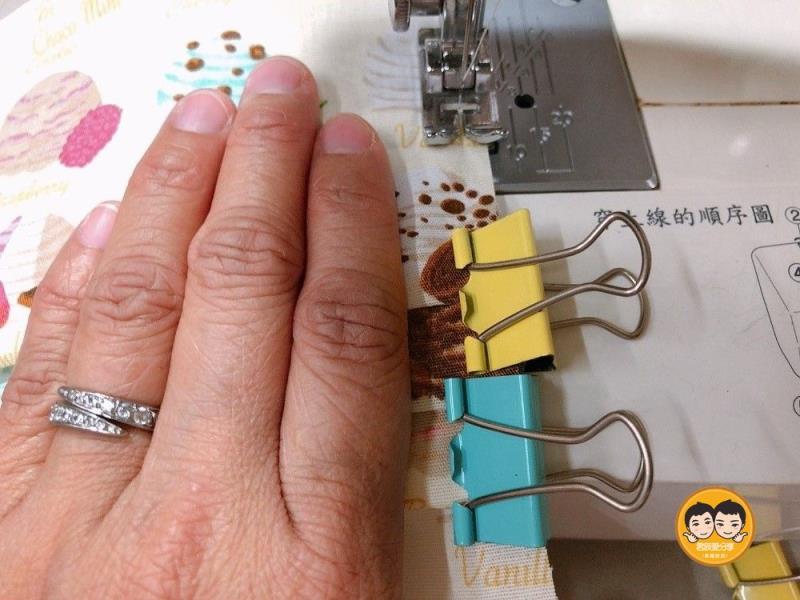
Carefully remove the clips, maintain the folds while sewing.
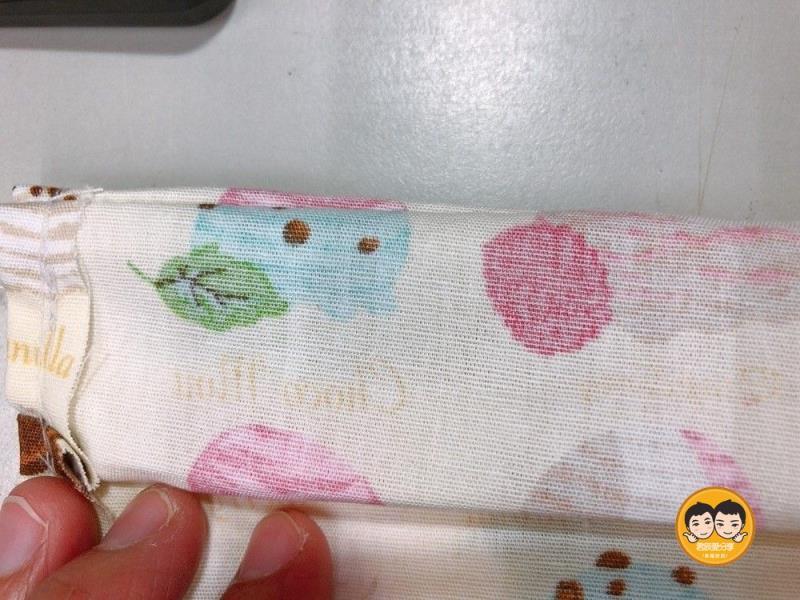
After both left and right sides are sewed...
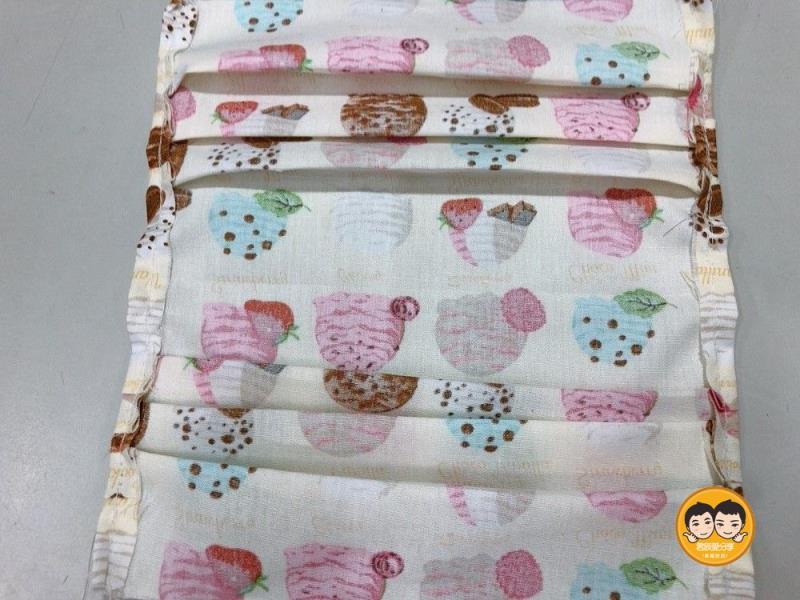
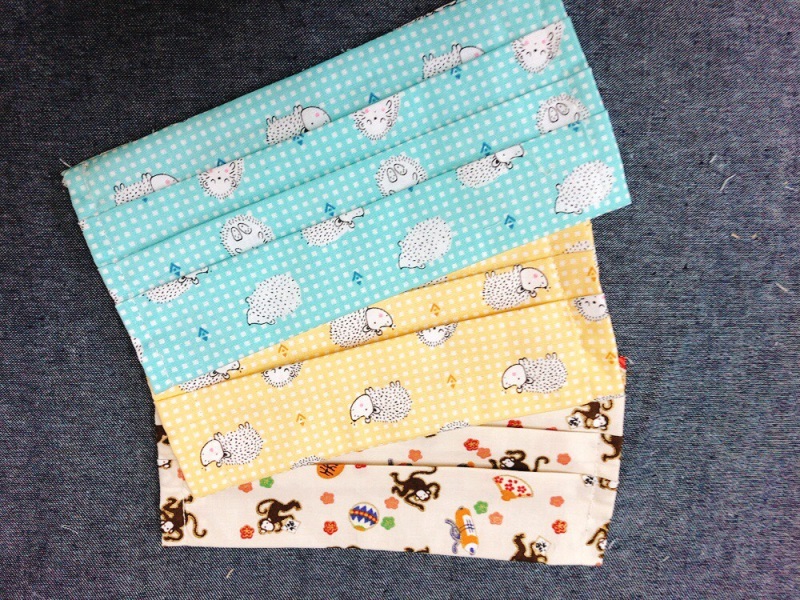
Fold the two sides inward by 0.5-1cm and iron to cover the sewing thread.
Now the two sides look nice and neat :)
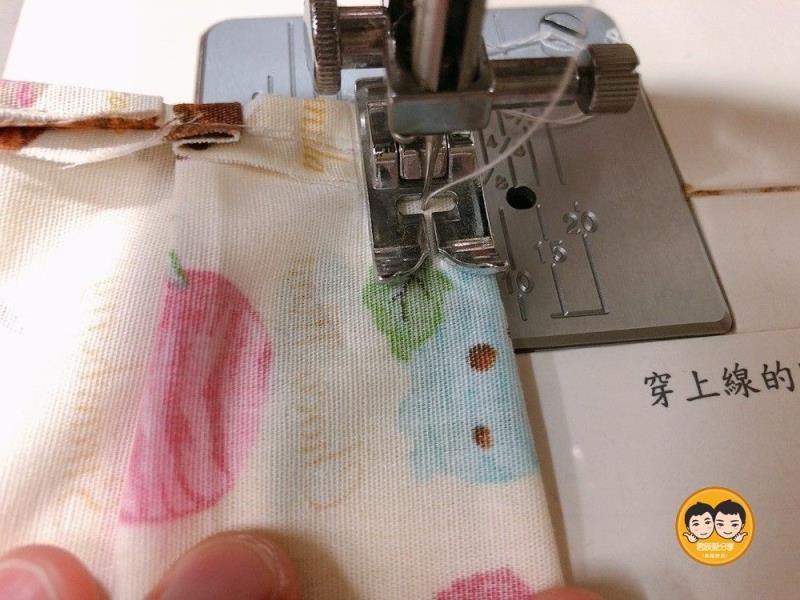
Fold the mask cover into half, and iron.
Now we close the gap on top by sewing about 0.5cm from the edge.
Turn the cover inside out, and sew on the edge again by about 0.8-1cm.
Turn outside in, iron, and there it is!! We are done!

To conclude, I summarize the usage of the cardboards as follows:
Below the central line, place:
1. 4cm board, fold up
2. 1cm board, fold down
3. 2.5cm board, fold up
4. 1cm board, fold down
5. 2.5cm board, fold up
6. 1cm board, fold down
And clip them, iron them all together before you start to sew. This way it’s more efficient!
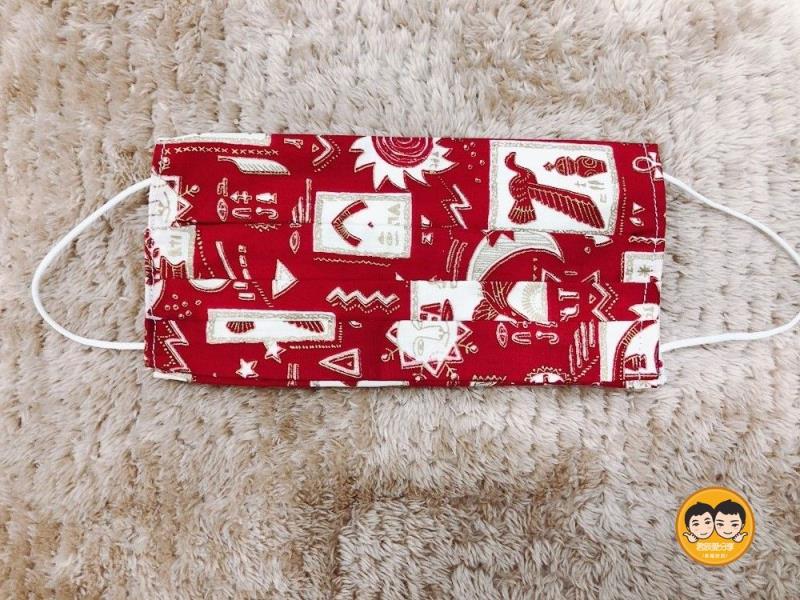
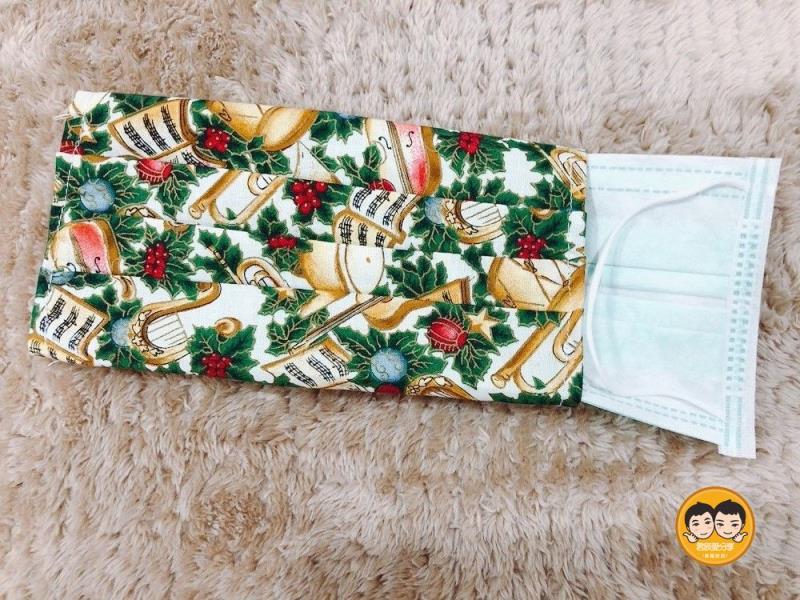
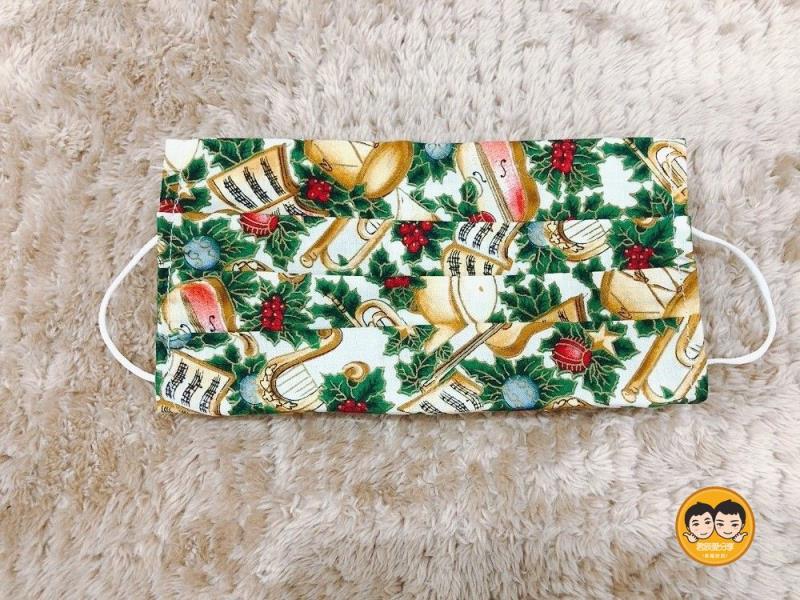
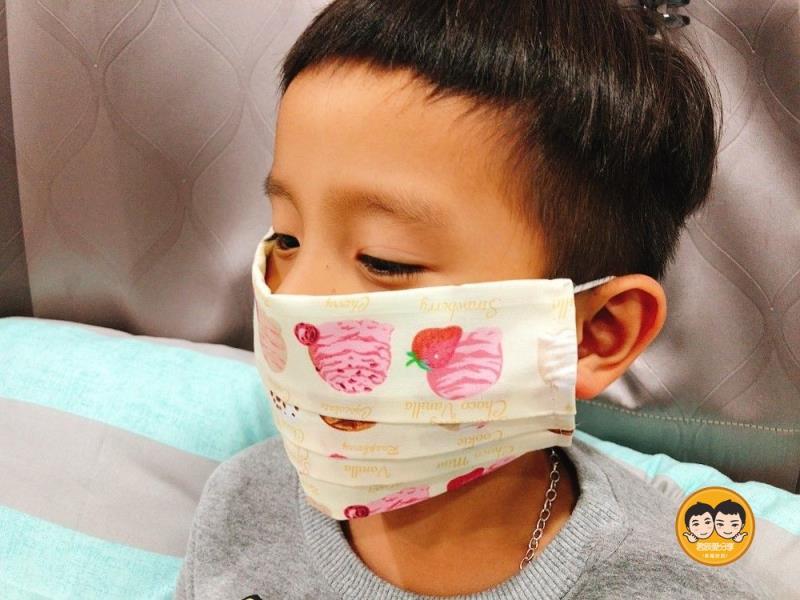
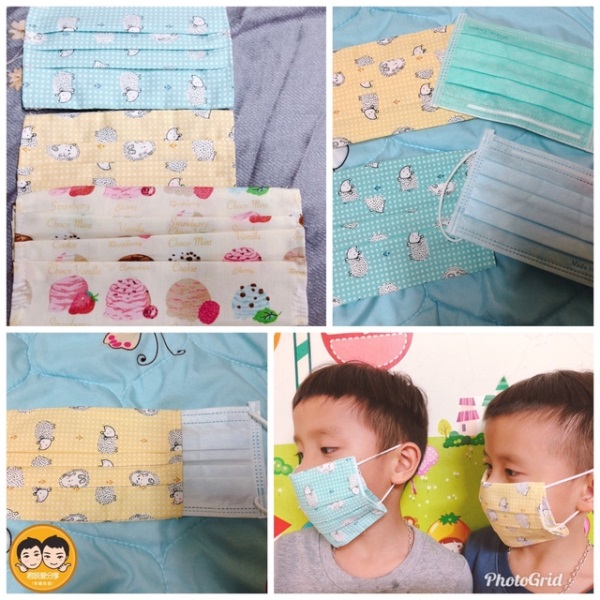
Once the mask covers are made, you can insert a surgical mask from either direction.
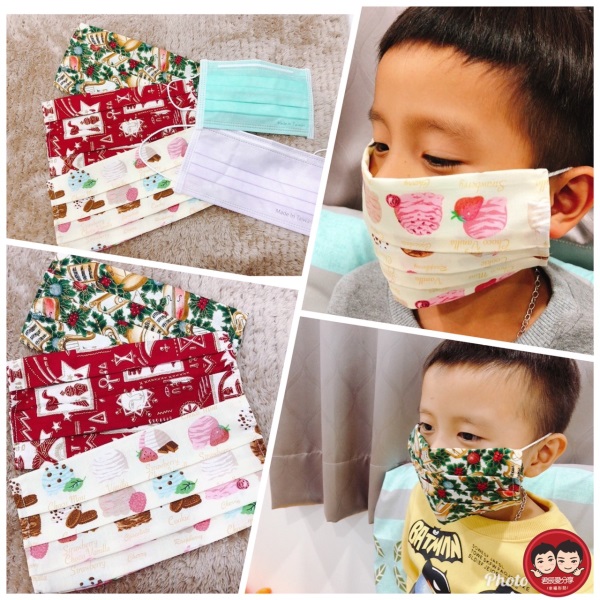
You can also create the covers for kids!
I picked the cloth that my kids like, and they absolutely love it now!
Plain fabrics look nice also!

For kid cover, you can measure your kid’s face to adjust the width of the cloth.
My kids are 7 years old, so I applied 18cm*36cm, which can fit kids up to 12 years old.
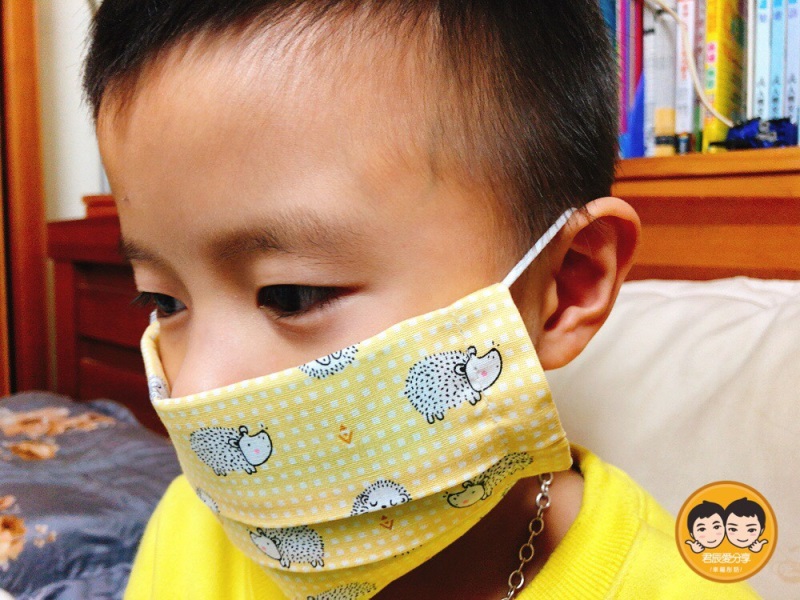
With just 2cm difference from the adult size, the kid cover fits the kid mask better,
and my kids felt more comfortable as well!
I’m very proud and happy with my【DIY Mask Cover】~ so do my kids and family!!
It’s really easy, I’m sure you can do it!
Let us leave masks for people who need them the most,
like the medical staff, people with chronic illness, and the elderly.
(English translation is provided by Hannah Chou.)
(If you wish to translate this blog to your language,
feel free to get in touch with us! Together,
let us make the best use of the resources we have!)
Contact me
FB-君辰愛分享&幸福彤話
https://www.facebook.com/Jun530chen/?modal=admin_todo_tour


 留言列表
留言列表